15 Crafty Fun Crafts for Kids to Make at Home With Simple Supplies
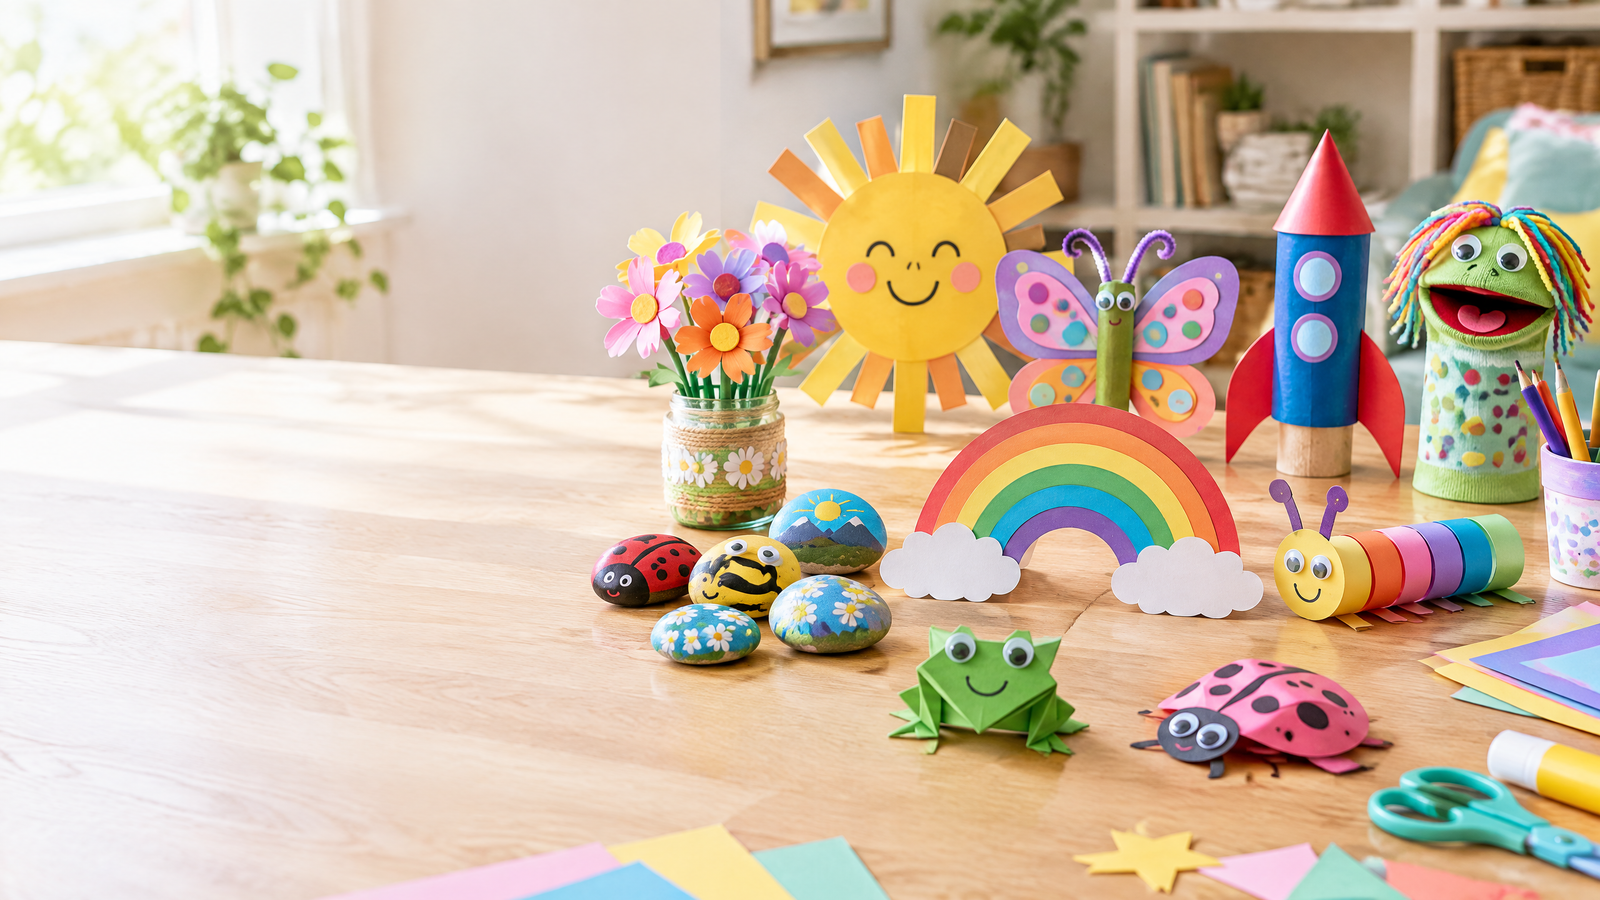
Looking for crafts for kids that do not require a special shopping trip? These 15 cheerful projects turn paper plates, cardboard tubes, paper bags, yarn, paint, and nature finds into playful creations. Each idea has a short supply list, clear steps, an easy way to adapt it for different ages, and a small invitation for pretend play or learning afterward.
The projects are intentionally low-pressure. A crooked paper sun is still a sun, and a monster with three eyes may be even more memorable than one with two. Set out a washable work surface, choose one project, and let children make decisions about color, shape, and personality.
Quick answer: The best easy crafts for kids use familiar materials, have a visible result within one sitting, and leave room for the child’s own choices. This list includes paper crafts, recycled crafts, nature crafts, painting ideas, and pretend-play projects for preschoolers and elementary-age children.
What makes a good at-home craft for kids?
A good children’s craft is more than a finished picture. It gives a child a manageable sequence of actions: choose, cut or tear, attach, decorate, and tell a story about the result. Projects that use simple supplies also make it easier to repeat the activity when a child wants to try a second version.
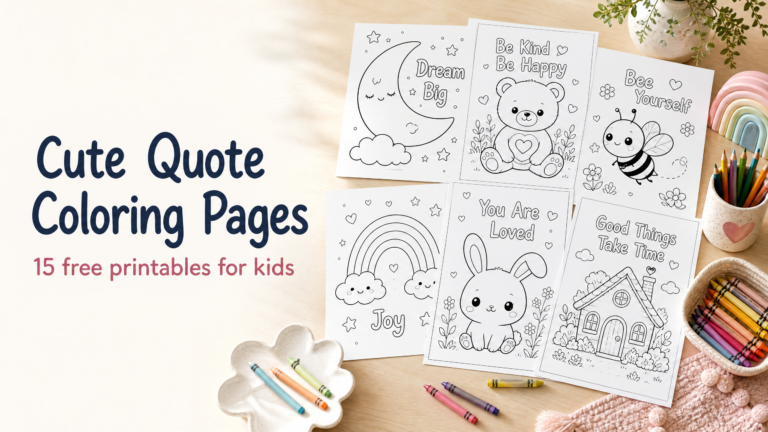
For younger children, an adult can prepare difficult cutting or use glue dots instead of liquid glue. Older children can measure, plan a color palette, write a label, or change the design. If your family enjoys printables, the Coloring & Printables collection from Oh Simply Mom is a natural companion for quiet time before or after crafting.
Crafting safely with children
Adult supervision should match the child’s age, motor skills, and the materials being used. Stay close when children use scissors, small decorations, hot glue, paint, or anything that could become a choking hazard. Keep craft materials out of the mouths of babies and toddlers, and use child-appropriate scissors for early cutters.
Choose art products with clear age guidance and follow the label. In the United States, the Consumer Product Safety Commission explains that art materials for children 12 and under have additional requirements, including rules related to labeling, lead limits, testing, and certification. This article is for creative inspiration, not a substitute for reading product instructions or using your own judgment about supervision.
Cover the table, keep water in a sturdy cup, and wash hands after painting. For a broader activity rotation, try 10 fun butterfly activities for preschool or browse 25 easy back-to-school activities for kids.
1. Paper Plate Sun
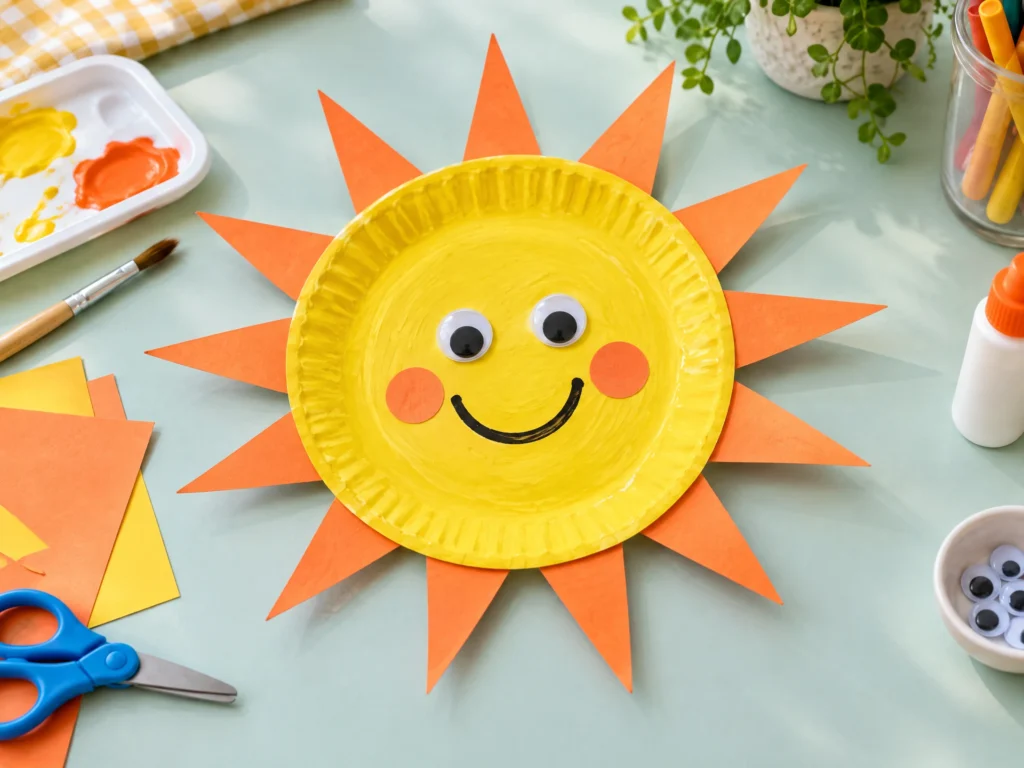
A paper plate sun is a bright first craft because children can paint, glue, draw, and practice patterns without needing perfect precision. It also makes a friendly decoration for a bedroom, classroom, or reading corner.
You will need: One paper plate, yellow paint or crayons, orange or yellow paper, glue, child-safe scissors, and a black marker used by an adult or older child.
How to make it: Paint or color the plate yellow. Cut triangles or wavy strips for rays and glue them around the edge. Add eyes, cheeks, and a smile, or leave the center plain. Once it dries, ask your child to name the sun’s expression and invent a weather forecast for it.
Make it easier or harder: Preschoolers can tear paper rays instead of cutting them. Older children can create a repeating ray pattern or write a short “sunny day” message on the back.
2. Cardboard-Tube Butterfly
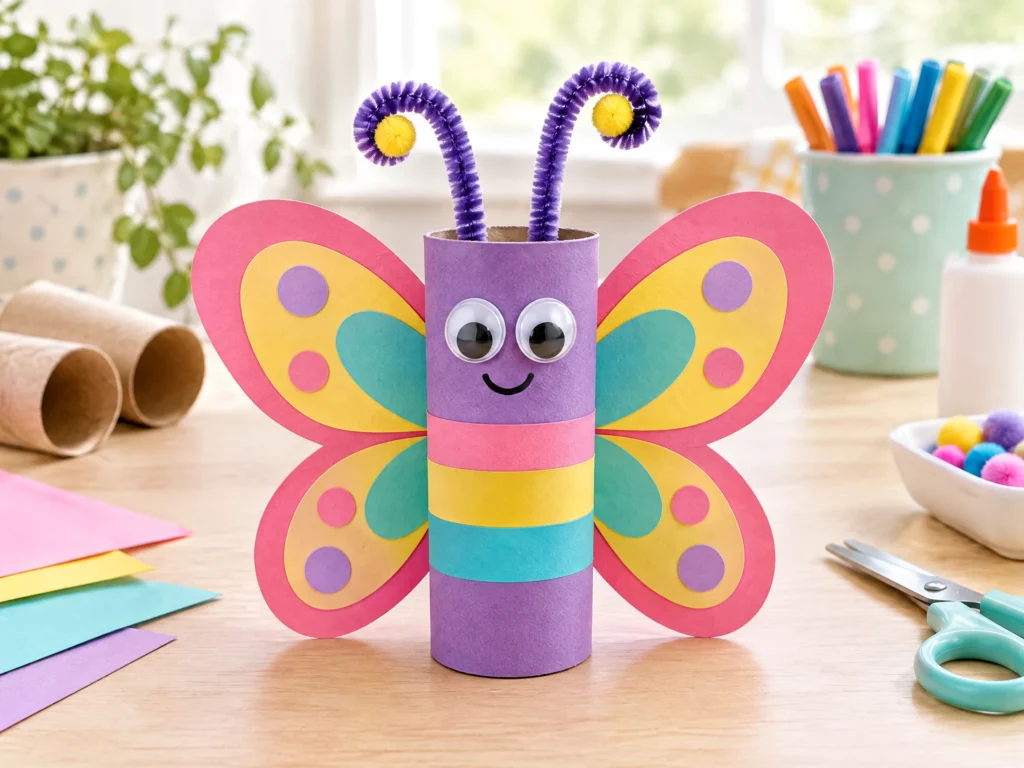
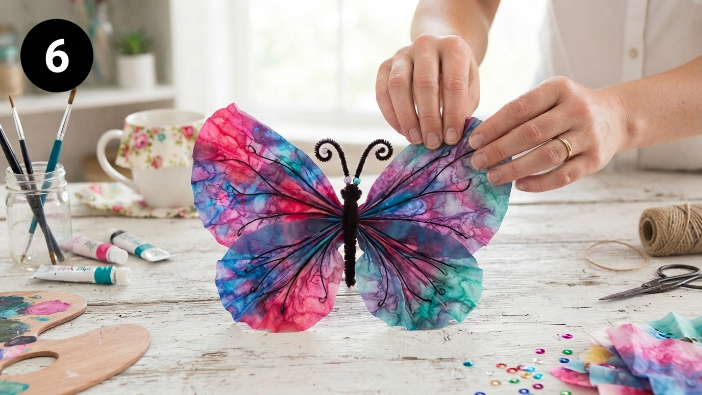
This recycled craft turns a cardboard tube into a colorful butterfly with a sturdy body. It is a simple way to talk about symmetry: one wing can inspire the shape of the other wing, but the decorations do not have to match exactly.
You will need: A clean cardboard tube, paper for wings, crayons or washable markers, glue, googly eyes if age-appropriate, and pipe cleaners or paper strips for antennae.
How to make it: Decorate the tube body. Fold a sheet of paper in half, draw one wing shape along the fold, cut it, and open it to reveal two matching wings. Glue the wings to the back of the tube. Add eyes and antennae, then give the butterfly a name.
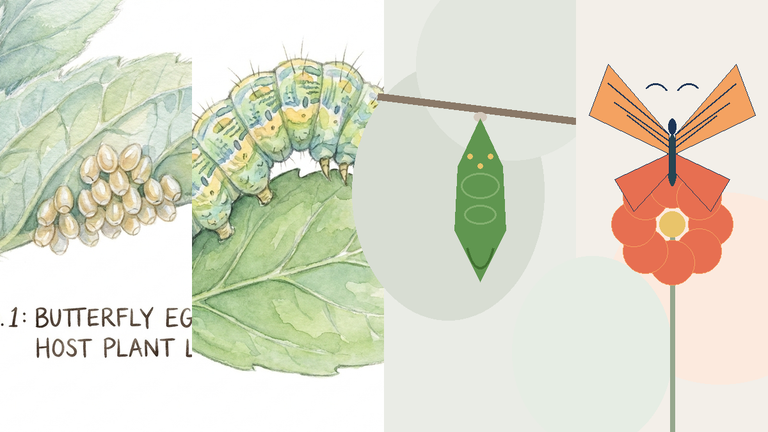
Learning invitation: Read a butterfly book and compare the craft butterfly with a real one. For another hands-on option, use the butterfly life cycle worksheets from Oh Simply Mom after the craft dries.
3. Popsicle-Stick Rocket Ship
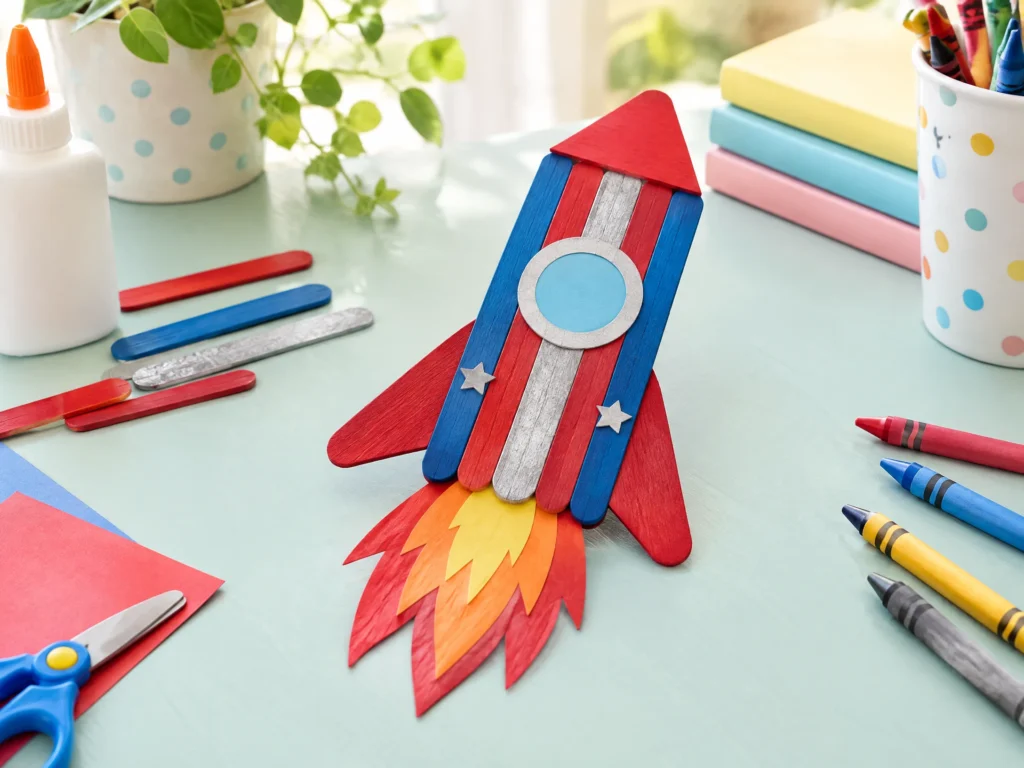
A small rocket encourages open-ended storytelling. Children can make a space vehicle, a rescue ship, or a rocket headed to an imaginary planet. The design is forgiving because the craft sticks create a clear outline even when they are not perfectly aligned.
You will need: Craft sticks, glue, colored paper, crayons or paint, and optional paper for flames and windows.
How to make it: Arrange three or four sticks into a simple rocket shape. Add a horizontal stick near the top for the window, then glue the pieces together. Cut a triangle nose and paper flames. Decorate with stripes, stars, or a pretend mission number.
Safety note: Use craft sticks that are smooth and free from splinters. Let an adult handle hot glue; white school glue works well when children can wait for drying time.
4. Cereal-Box Puppet Theater
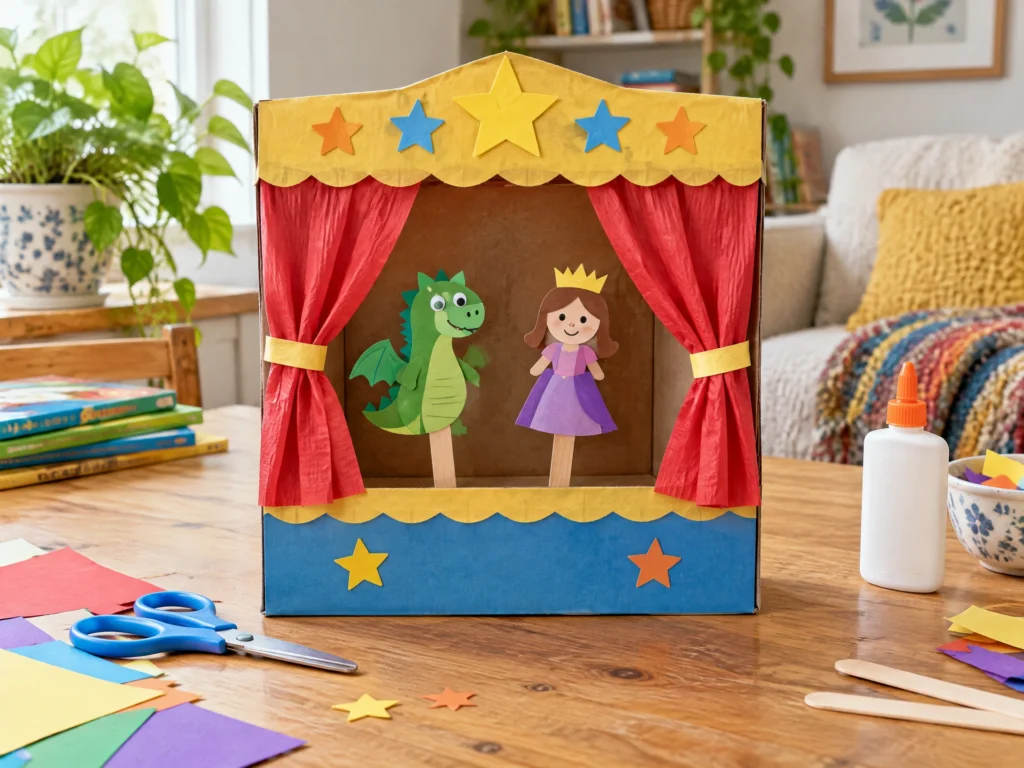
Turn an empty cereal box into a tiny stage for paper puppets. This is one of the most useful crafts for kids because the making and the play continue long after the glue dries.
You will need: An empty cereal box, paper, glue, crayons, and child-safe scissors. An adult can use a craft knife to cut the stage opening before the activity begins.
How to make it: Remove the box’s inner flap if needed and cut a window in the front. Cover the box with paper or color the cardboard. Add a paper curtain, a stage sign, and two or three simple paper characters attached to craft sticks.
Play prompt: Invite your child to perform a one-minute show with a beginning, a problem, and an ending. Younger children can simply make animal voices and move the puppets across the opening.
5. Nature Collage Frame
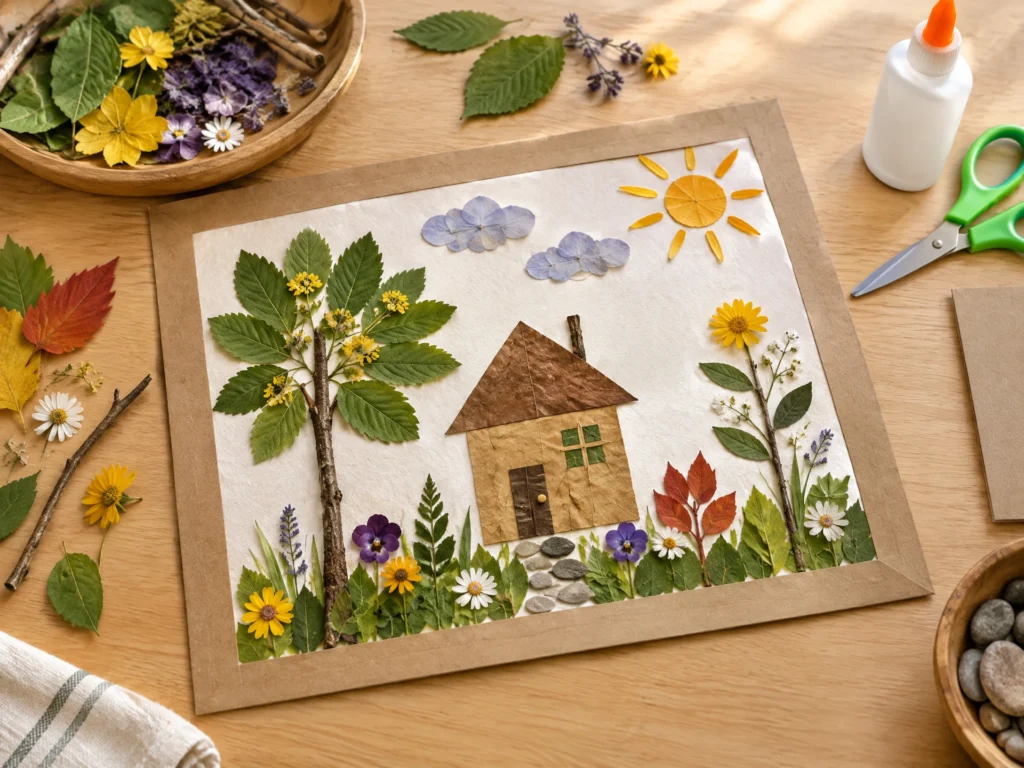
A nature collage gives children a reason to slow down and notice texture. Use fallen leaves, small flowers, grass, seed pods, or tiny twigs that are already on the ground. Do not pick protected plants, and avoid unknown berries or plants.
You will need: Cardboard or thick paper, glue, crayons, and dry nature finds. Clear contact paper can be used by an adult to cover the finished collage.
How to make it: Draw a frame on cardboard and cut out the center, or decorate a full sheet as a collage. Arrange the natural pieces before gluing. Add drawn details such as a sun, a bug, or a garden sign.
Keep it fresh: If the materials are damp, let them dry first. A pressed-leaf version can be added to a nature journal or displayed next to a child’s drawing.
6. Paper-Bag Monster Puppet
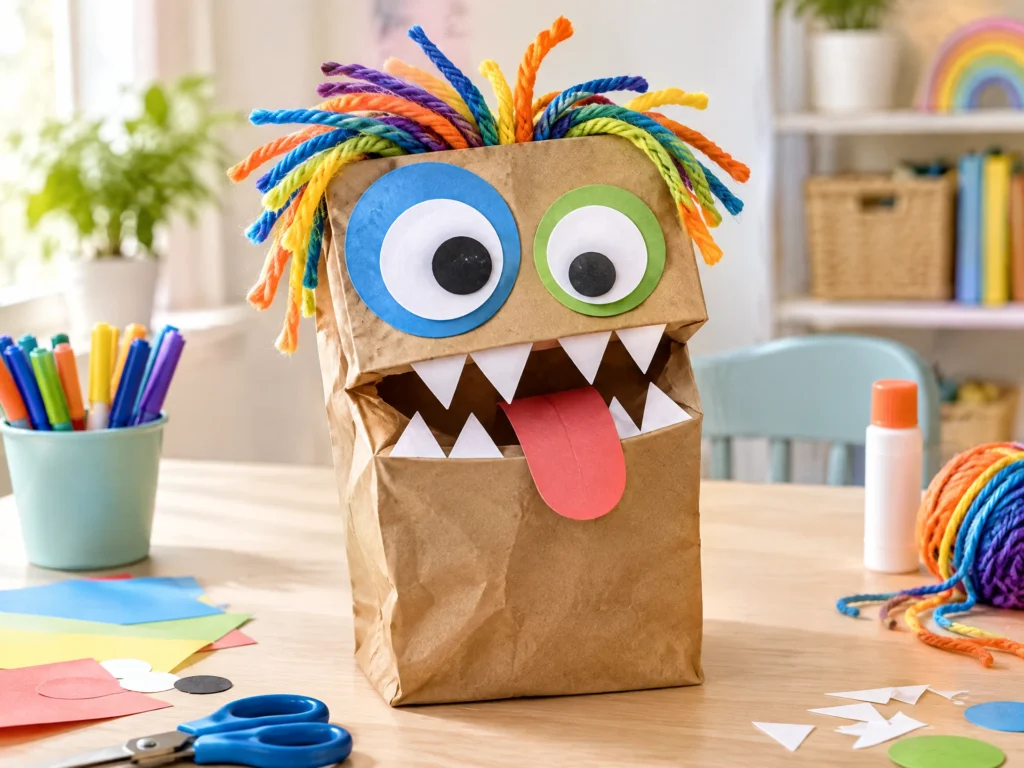
Paper-bag puppets are ideal for children who love silly characters. There is no single correct monster, so the project works for a wide range of ages and abilities.
You will need: A paper lunch bag, scraps of paper, glue, crayons or markers, and yarn or paper strips for hair. Use large, securely attached pieces for young children.
How to make it: Place the bag with the flap facing you; the flap becomes the mouth. Add eyes, teeth, ears, horns, spots, or hair. Give the monster a name and decide what it likes to eat. Try making a friendly monster, a sleepy monster, and a monster who is afraid of the dark.
Writing extension: Older children can write three sentences about the monster. Younger children can dictate the story while an adult writes it down.
7. Cotton-Ball Cloud and Rainbow
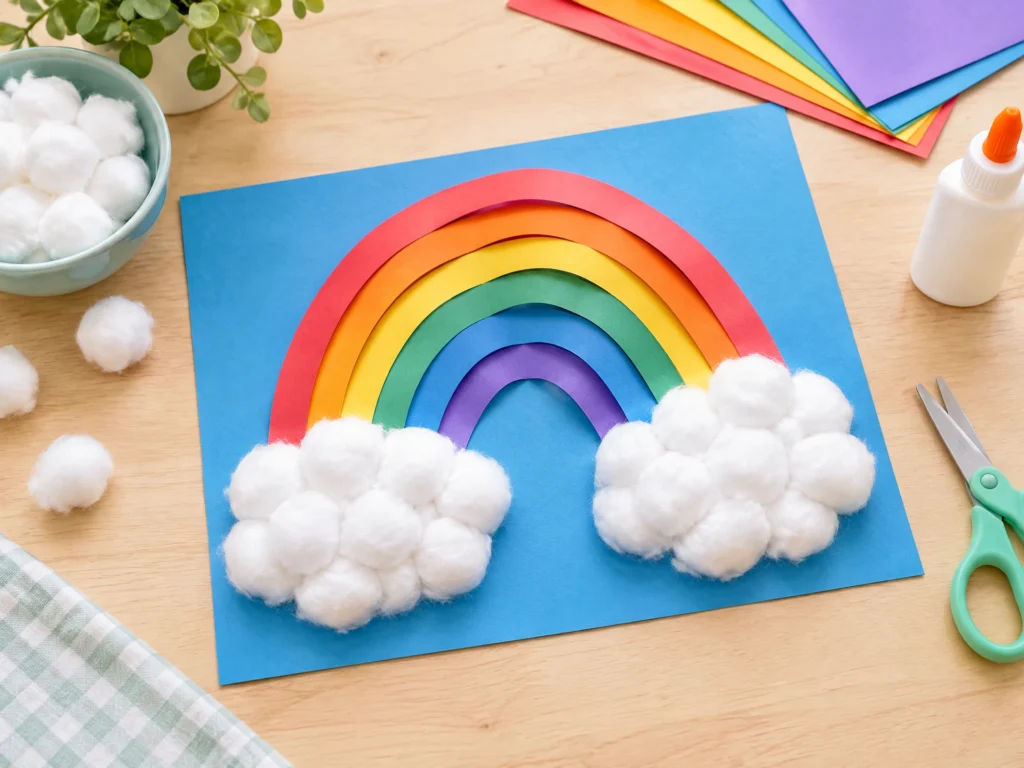
This cloud and rainbow picture combines soft texture with color sequencing. It is quick enough for a short attention span and attractive enough to hang in a window or on the refrigerator.
You will need: Blue paper, cotton balls, glue, and strips of paper in rainbow colors. Children can tear the strips for extra fine-motor practice.
How to make it: Glue cotton balls into a cloud shape. Arrange paper strips in a rainbow order and attach them below the cloud. Add raindrops, birds, or a small landscape if your child wants more detail.
Talk about it: Ask what happens after rain, where rainbows appear, and which colors are warm or cool. Keep the conversation playful rather than turning it into a test.
8. Painted Pet Rocks
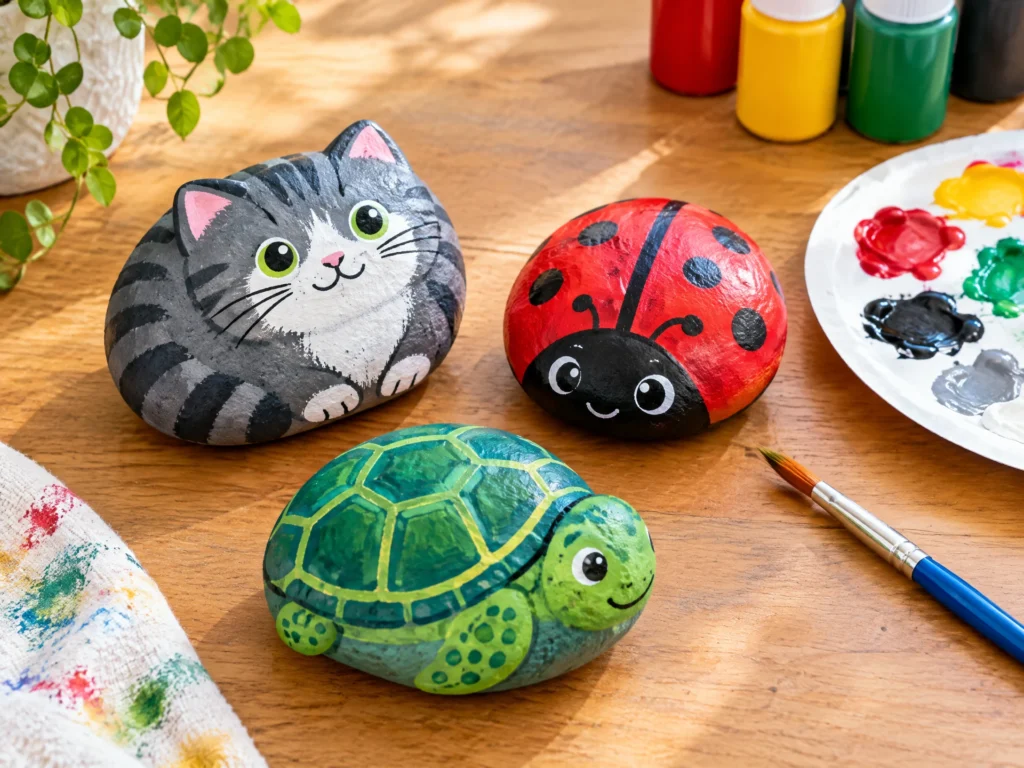
Smooth rocks become tiny pets, bugs, or storybook characters with a few painted details. This is a good project for children who prefer decorating to cutting.
You will need: Clean, dry smooth rocks; washable or child-appropriate paint; brushes; water; and paper for a drying area. Use a clear sealer only according to the product label and with adult help.
How to make it: Let your child choose a rock and decide what it will become. Paint the base color first. Add eyes, spots, whiskers, shells, or wings after the first layer dries. Finish with a name card or a small paper habitat.
Outdoor note: If you plan to leave painted rocks outside, check local guidance and avoid placing them where they could create a hazard for walkers, wildlife, or grounds crews.
9. Paper-Cup Flower
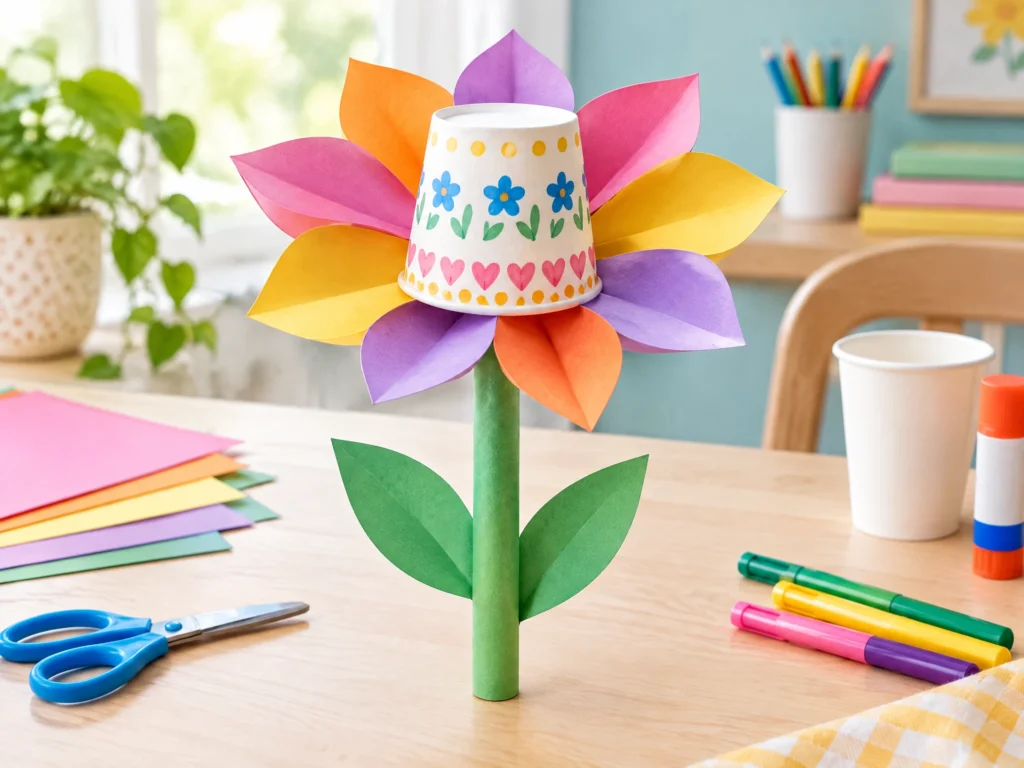
A paper-cup flower is a cheerful way to use a leftover party cup. Children can create a single bloom or build a paper bouquet for pretend play.
You will need: A clean paper cup, colored paper, glue, a paper straw or folded paper stem, and crayons or markers.
How to make it: Decorate the cup as the flower center. Cut several petal shapes and glue them around the rim or behind the cup. Attach a paper stem and leaves. Add a paper label with the flower’s invented name.
Adaptation: Instead of cutting petals, adults can prepare a few shapes and let toddlers choose the order and colors. Older children can make a repeating petal pattern or measure equal spaces around the rim.
10. Yarn-Wrapped Initial Letter
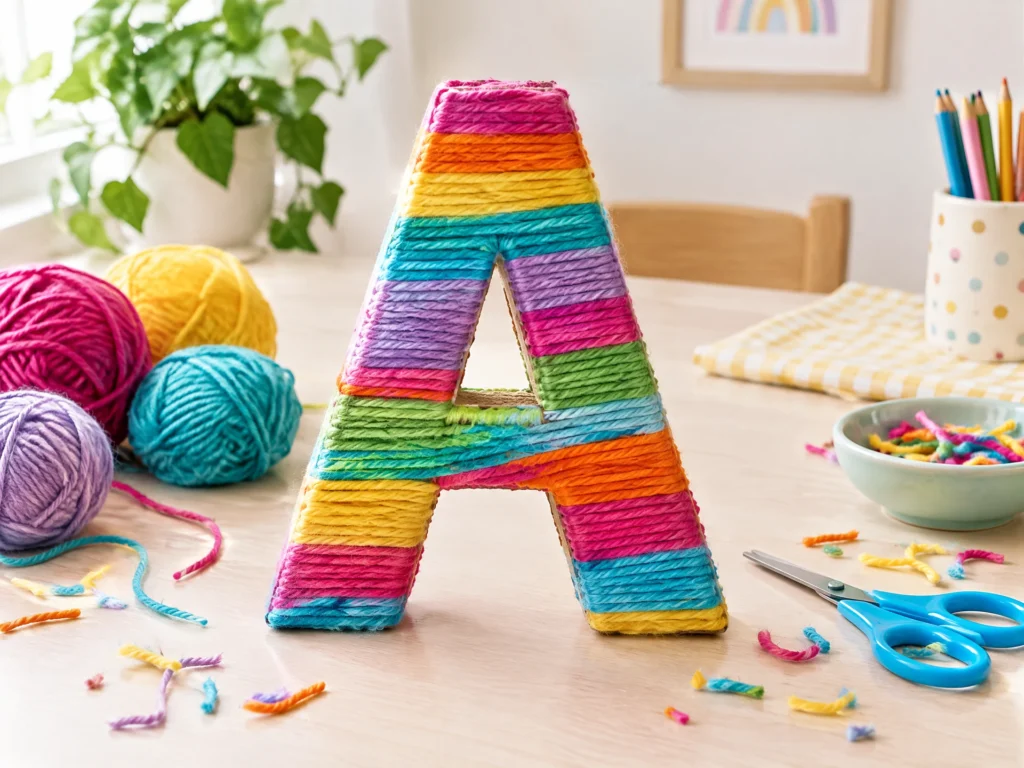
A yarn-wrapped letter becomes a personalized decoration and gives children a satisfying repetitive motion. It is especially useful for practicing name recognition without turning the activity into a worksheet.
You will need: Cardboard, a pencil, child-safe scissors, yarn, and tape or glue. An adult can cut the cardboard letter before the activity.
How to make it: Draw a large block letter and cut it from cardboard. Tape the end of the yarn to the back. Wrap the yarn around the letter, changing colors whenever you like. Tuck or tape the final end on the back.
Make it meaningful: Add small paper symbols for favorite foods, animals, sports, or places. Display the initial beside a child’s name card or a self-portrait.
11. Paper-Roll Binoculars
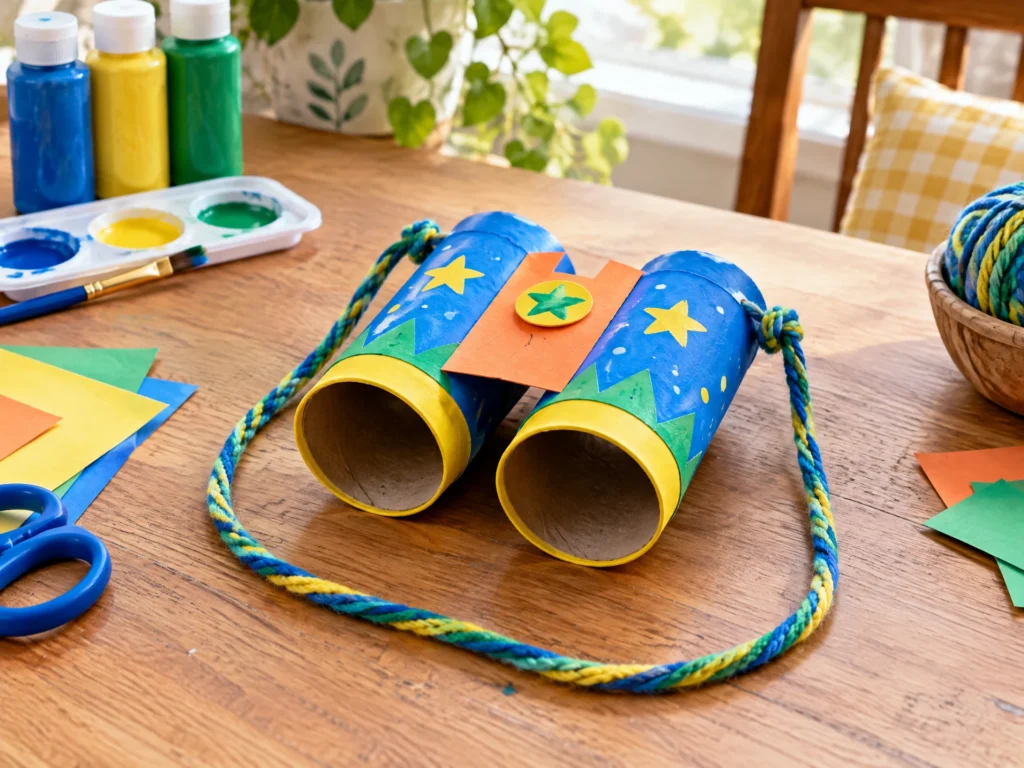
Paper-roll binoculars are a fast recycled craft that leads naturally into a scavenger hunt. They are for pretend play, not for looking at the sun or examining distant objects without adult guidance.
You will need: Two cardboard tubes, paper or washable paint, glue or tape, yarn, and optional stickers.
How to make it: Decorate the tubes separately. Place them side by side and join them with paper, tape, or glue. Add a yarn strap with an adult’s help, checking that it is not tight around a child’s neck. Look for three colors, two shapes, and one sound in the room.
Safety reminder: Keep the binoculars pointed away from bright lights and never use them to look directly at the sun.
12. Tissue-Paper Jellyfish
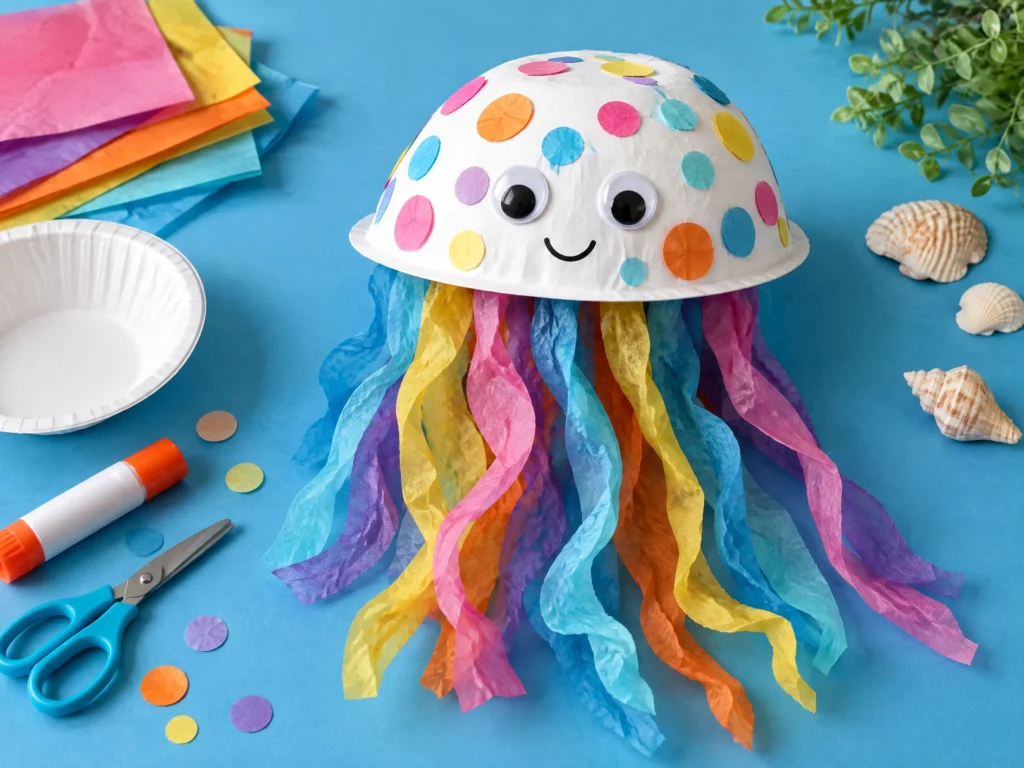
A paper-bowl jellyfish is a colorful ocean craft that uses tearing, gluing, and arranging. It also pairs well with a conversation about ocean animals and habitat care.
You will need: A paper bowl, tissue paper, paper strips or yarn, glue, and crayons or markers.
How to make it: Turn the bowl upside down and decorate it with tissue-paper circles or painted dots. Glue strips or yarn underneath for tentacles. Add eyes if desired, then hang the jellyfish from a safe display spot.
Learning extension: Ask whether a jellyfish has bones, how it moves, and what other animals might share its habitat. Keep answers age-appropriate and explore a library book together if interest grows.
13. DIY Paper Wind Spinner
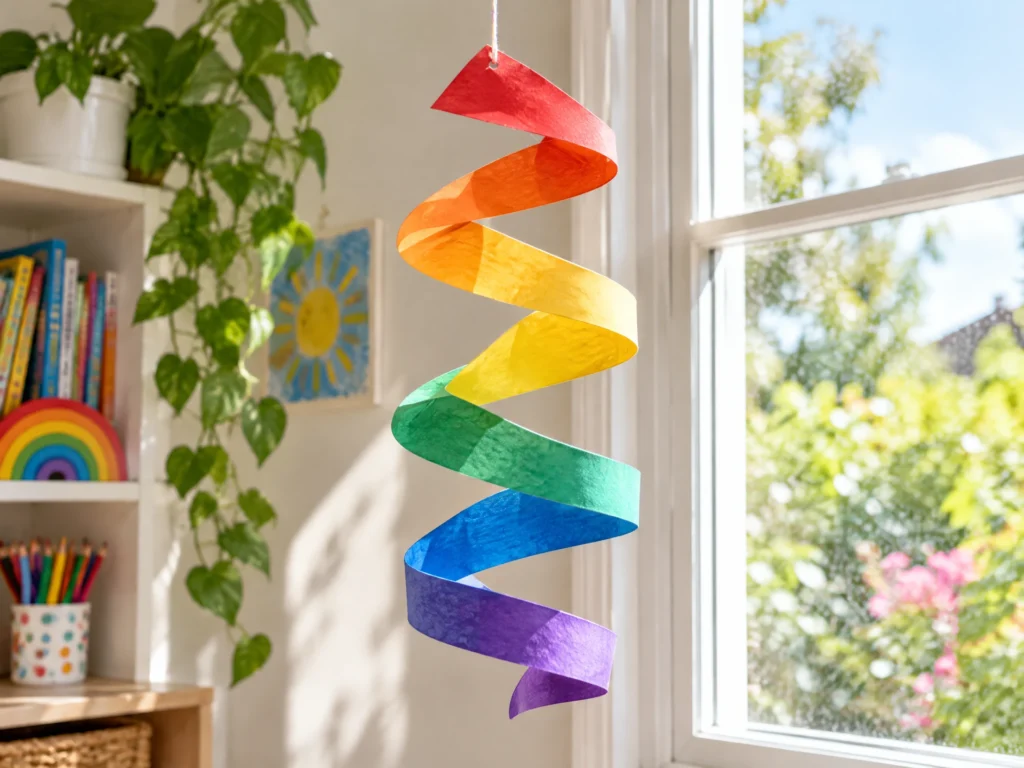
A paper wind spinner turns a flat sheet into a simple moving decoration. It is a good project for older preschoolers and elementary-age children, with the cutting step adjusted to fit their skills.
You will need: A square sheet of paper, crayons or markers, scissors, a pencil, and an adult-prepared hanging point or paper fastener.
How to make it: Decorate both sides of the paper. An adult can mark diagonal lines from each corner toward the center, stopping before the middle. Cut along the lines, fold alternating corners toward the center, and secure the shape according to the fastener’s instructions.
Safety note: Adult help is recommended for the fastener and for any outdoor hanging. Keep the spinner away from walkways and wildlife.
14. Paper-Chain Caterpillar
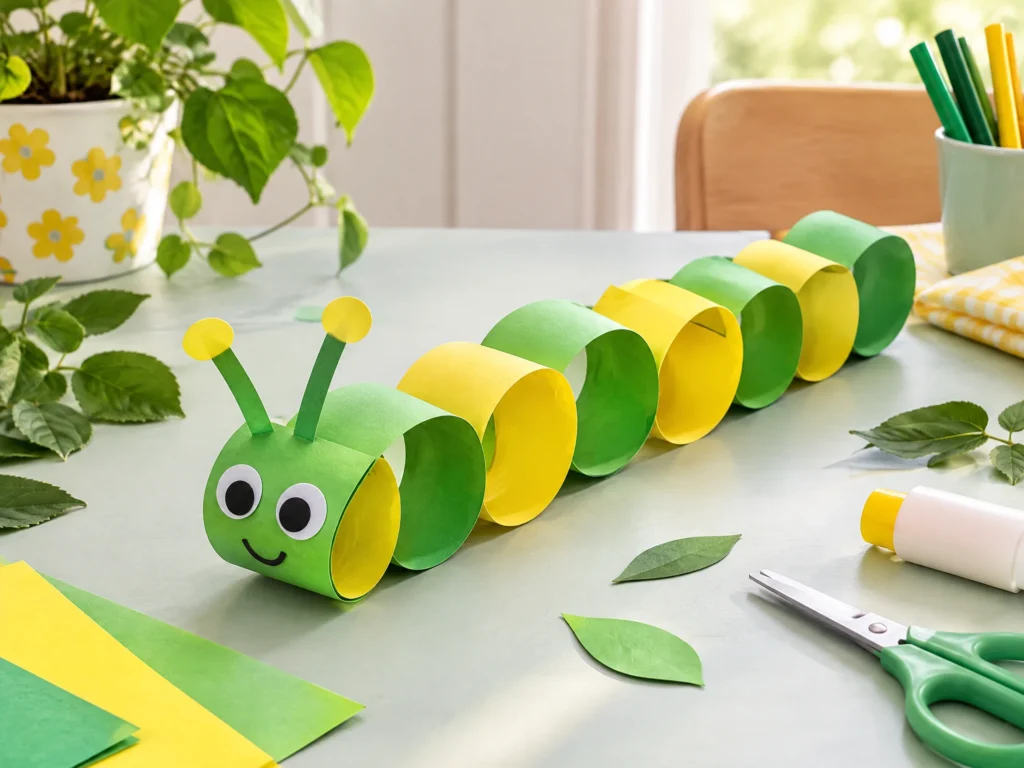
A paper-chain caterpillar makes a friendly counting craft. Each loop can represent a color, a number, or a stage in a story.
You will need: Paper strips, glue or tape, paper for a face, and crayons or markers.
How to make it: Form one strip into a loop and attach the ends. Thread the next strip through the first loop before joining it. Continue until the caterpillar reaches the desired length. Add a face, antennae, legs, and a leaf-shaped base.
Math connection: Count the loops, sort them by color, or make a repeating pattern. Children can predict which color should come next and then check their idea.
15. Salt-Painting Rainbow
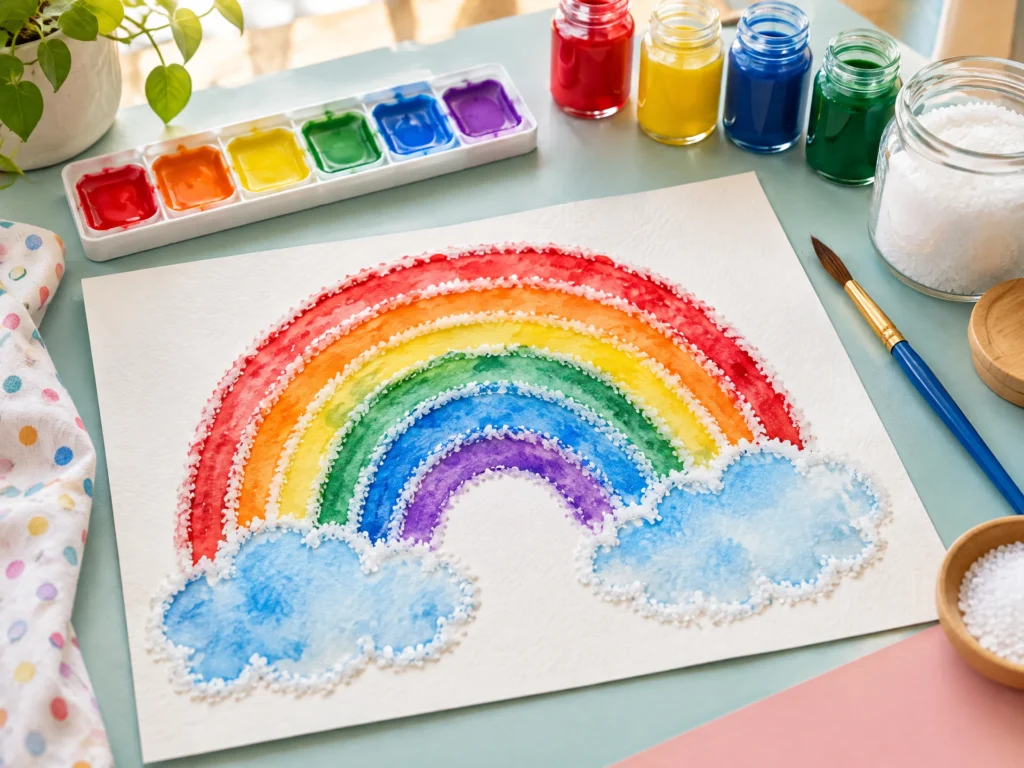
Salt painting creates raised lines that catch watercolor. It looks special while using inexpensive kitchen and art supplies, but it requires close supervision because salt should never be treated as a toy or placed near a child’s mouth.
You will need: Thick paper, white school glue, table salt, liquid watercolor or diluted washable paint, and a paintbrush.
How to make it: Draw a rainbow, star, name, or simple shape with glue. Sprinkle salt over the glue, gently tap off the extra, and let the lines settle. Touch watercolor to the salt with a damp brush and watch the color travel along the raised line.
Important safety note: Supervise closely, keep salt away from babies and toddlers, and clean the work area after the craft. Follow all paint-label directions.
How to set up a simple craft station
A small, repeatable setup can make crafting feel easier for everyone. Cover the table with a washable cloth or recycled paper. Put only the supplies needed for the chosen project within reach, then keep extras in a nearby tray. A shallow box can hold scraps, while a separate envelope can store finished paper pieces.
Use a drying area that is out of reach of pets and toddlers. Label one cup for clean water and keep food and drinks away from paint, glue, and craft materials. When a project is finished, photograph it before recycling or storing it; children often enjoy looking back at their creative choices.
Easy ways to make these crafts more educational
You do not need a worksheet to add learning. Ask children to compare textures, count pieces, name colors, describe a character, or predict what will happen next. Invite them to tell you the steps in order. Older children can write instructions for a younger sibling or calculate how many paper strips are needed for a longer chain.
The most useful question is often, “Tell me about what you made.” It keeps the conversation focused on the child’s ideas rather than on whether the result looks like the example.
Frequently asked questions about crafts for kids
What are the easiest crafts for kids at home?
Paper plate suns, paper-bag monsters, paper chains, cotton-ball clouds, and cardboard-tube butterflies are among the easiest choices. They use familiar materials, have few steps, and allow children to decorate freely.
What can kids make with paper and glue?
Kids can make puppets, flowers, butterflies, rainbows, caterpillars, collages, decorated letters, and many kinds of pretend-play props. Start with paper shapes that are easy to hold and let children choose the arrangement.
How do I choose a craft for a toddler?
Choose large materials, short activities, and adult-prepared cutting. Avoid small loose pieces, long strings, and materials that are not labeled for the child’s age. Stay within arm’s reach and stop if the child begins mouthing the supplies or becomes frustrated.
How can I keep kids’ crafts from taking over the house?
Photograph favorite projects, display a rotating selection, and recycle items that no longer matter to the child. A small portfolio folder or accordion file can hold flat paper crafts without requiring a large storage bin.
Final thoughts
The best crafts for kids are not the ones that look most polished. They are the ones that make a child pause, choose, try again, and explain an idea. With a few simple supplies and a little preparation, an ordinary afternoon can become a paper-bag theater, a tiny garden, a rocket mission, or a parade of painted pet rocks.
Start with one project today, then save the rest for the next rainy day. For more low-prep ideas, visit Oh Simply Mom and explore its Kids Activities and Coloring & Printables sections.
References
[1] U.S. Consumer Product Safety Commission: Art Materials Business Guidance
[2] Google Search Central: Creating Helpful, Reliable, People-First Content
[4] Oh Simply Mom: 10 Fun Butterfly Activities for Preschool
[5] Oh Simply Mom: Coloring & Printables
[6] Oh Simply Mom: 25 Easy Back-to-School Activities for Kids