How to Make a Recycled Cardboard-Roll Butterfly: The Ultimate DIY Craft Guide
Sustainability meets creativity in our latest tutorial on how to make a recycled cardboard-roll butterfly. This eco-friendly craft project is a fantastic way to teach kids about upcycling while developing their fine motor skills. Using simple materials like toilet paper rolls and cardstock, you can create a vibrant, fluttering friend in just a few minutes.
In this detailed 14-step guide, we’ll show you exactly how to transform a common household item into a professional-looking toilet paper roll butterfly. Let’s dive into the materials and the step-by-step process!
Why We Love Recycled Butterfly Crafts
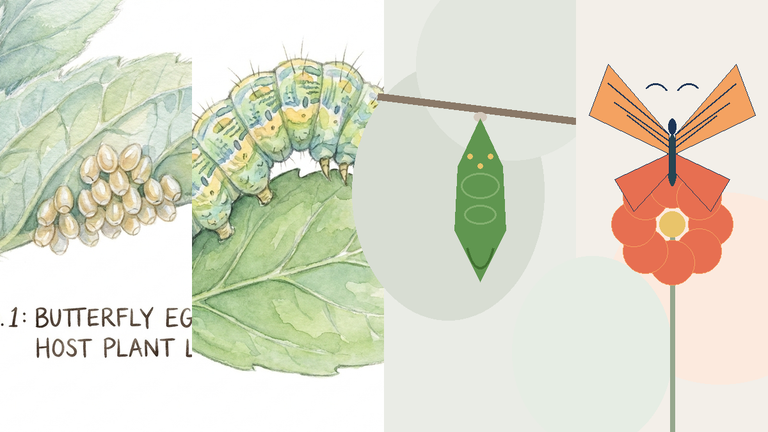
Upcycling is one of the most rewarding ways to craft. A cardboard roll butterfly is not only budget-friendly but also customizable. Whether you’re working on a butterfly life cycle lesson or just looking for a fun weekend activity, this craft is a winner for parents, teachers, and DIY enthusiasts.
Materials You Will Need:
- 1 Recycled cardboard roll (toilet paper or paper towel roll)
- Bright yellow acrylic paint and a brush
- Purple cardstock for wings
- Purple pipe cleaners
- Googly eyes
- Colorful paper circles and shiny gems for decoration
- Black marker
- Red scissors
- Hot glue gun (or strong craft glue)
14 Steps to Your Recycled Butterfly Masterpiece
1. Paint the Body
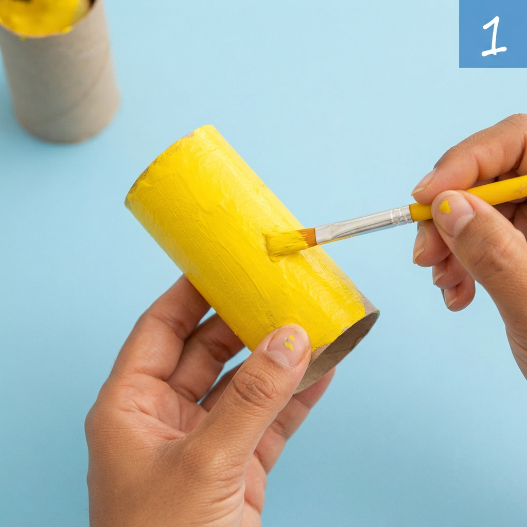
Start your cardboard-roll butterfly by painting the entire roll a solid, bright yellow. This serves as the cheerful body of your butterfly. Ensure the paint is applied evenly for a professional finish.
2. Add the Eyes
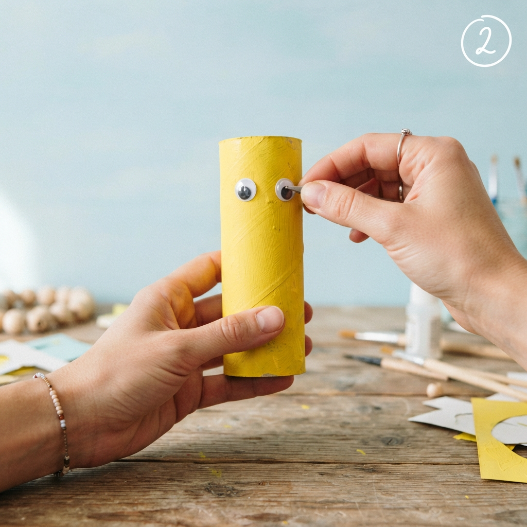
Once the paint is dry, use your glue to attach two googly eyes near the top of the roll. This immediately gives your recycled butterfly a friendly personality.
3. Draw a Cheerful Smile
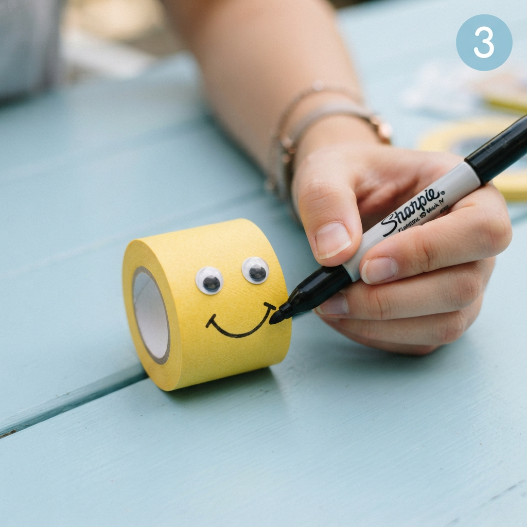
Using a black marker, draw a small, happy smile just below the googly eyes. This simple detail is key to making your craft look inviting and fun.
4. Prepare the Antennae
Take two purple pipe cleaners and use your red scissors to cut them to the perfect size. These will become the antennae for your toilet paper roll butterfly.
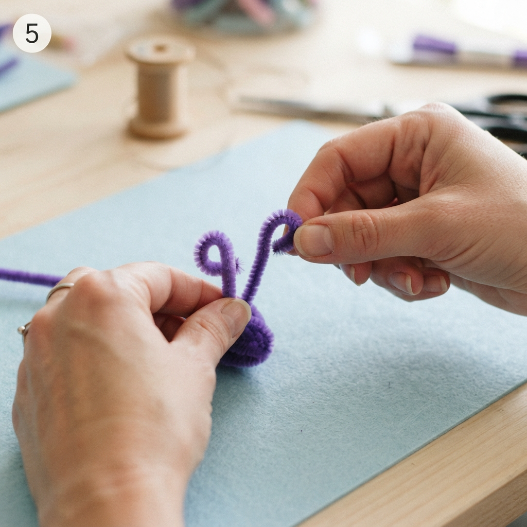
5. Curl the Tips
Carefully curl the ends of the pipe cleaners into small loops. This mimics the natural look of a real butterfly’s antennae and adds a whimsical touch.
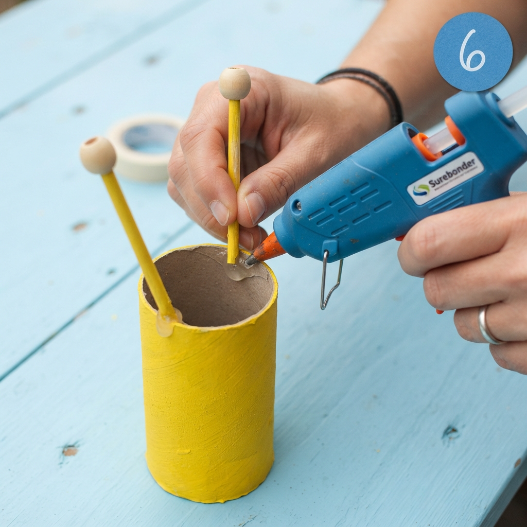
6. Apply Glue for Antennae
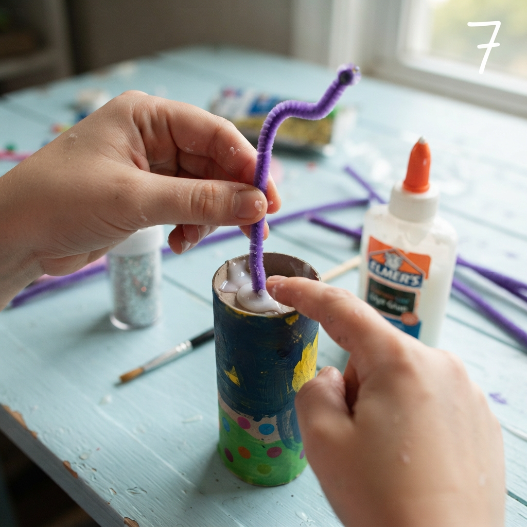
Apply a small amount of hot glue to the inside rim of the top of the yellow roll. This is where your antennae will be securely anchored.
7. Attach the Antennae
Press the pipe cleaners into the glue. Hold them for a few seconds to ensure they are firmly in place and standing upright.
8. Cut the Wings
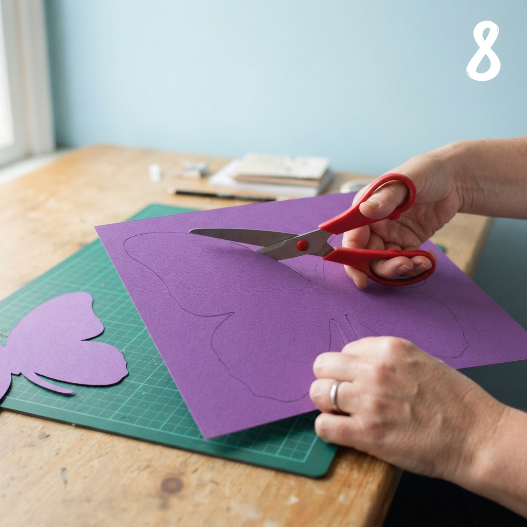
Using your red scissors and purple cardstock, cut out two large, symmetrical wing shapes. These will be the boldest part of your paper plate butterfly alternative.
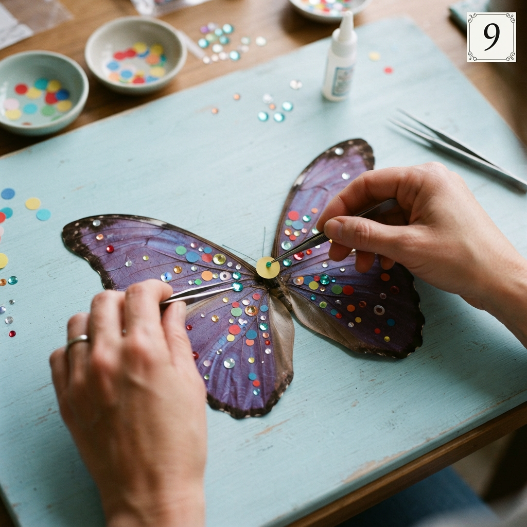
9. Design the Patterns
Lay the purple wings flat. Arrange your colorful paper circles and shiny gems to create a beautiful, symmetrical pattern. This is where your butterfly art truly shines!
10. Glue the Decorations
Carefully glue each gem and paper circle onto the wings. Taking your time here ensures that your butterfly wings look intricate and high-quality.
11. Glue for Assembly
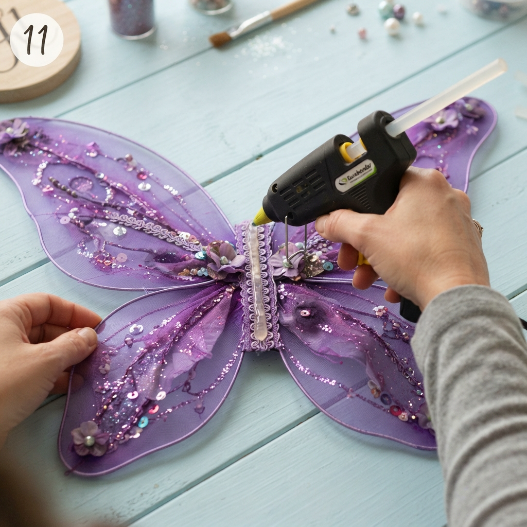
Apply a vertical strip of hot glue down the center of your decorated wings. This will be the attachment point for the butterfly’s body.
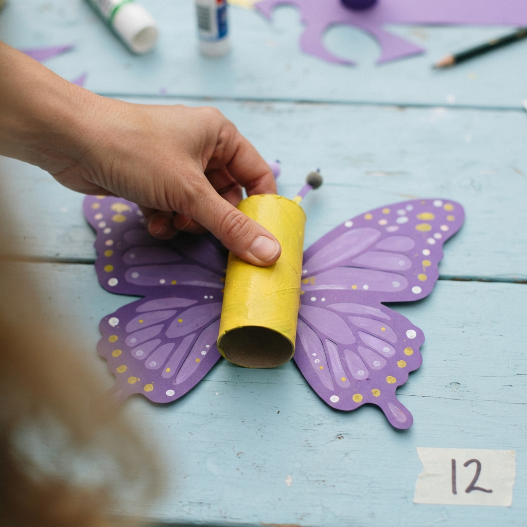
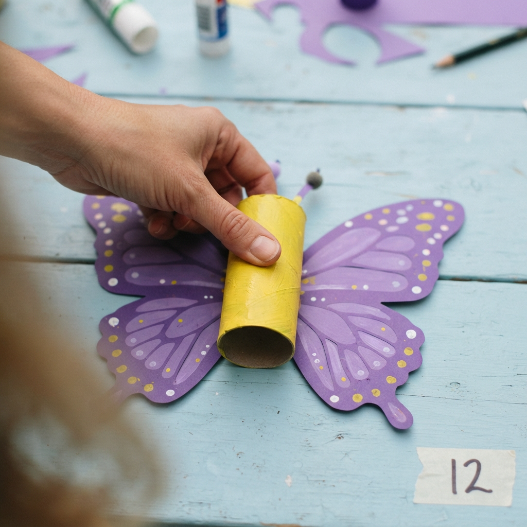
12. Join the Body and Wings
Press the yellow cardboard body firmly onto the center of the wings. Hold it in place until the glue sets, ensuring the wings are perfectly balanced.
13. Final Adjustments
Do a quick check! Adjust the antennae if needed and ensure the wings are securely attached. Your recycled craft is almost ready for flight.
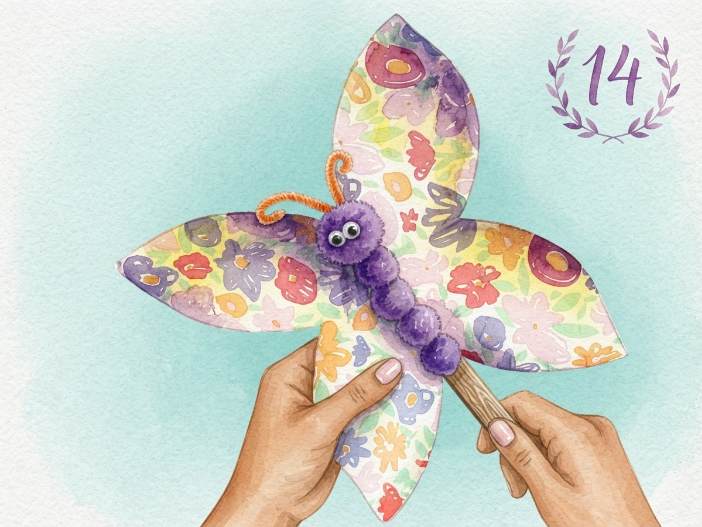
14. Display Your Work
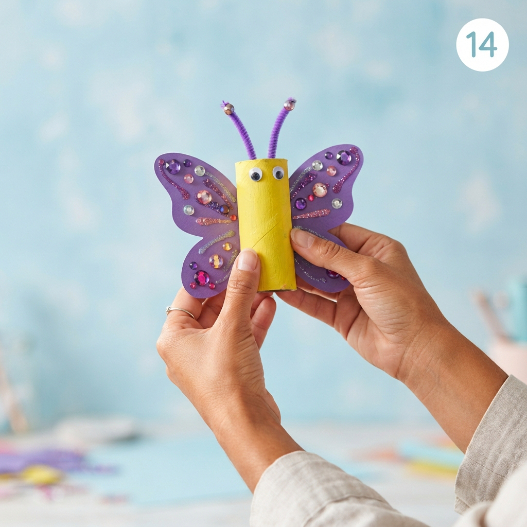
Hold up your finished recycled cardboard-roll butterfly! You’ve successfully turned trash into treasure. This craft is perfect for a classroom display or a bedroom decoration.
Looking for more butterfly crafts and activities? Check out our Butterfly Activities for Preschool article. Then download these fun butterfly coloring pages for even more creative fun!