DIY Coffee Filter Butterfly Craft: A Step-by-Step Guide for Kids
Looking for a fun, easy, and colorful craft to do with your kids? This Coffee Filter Butterfly Craft is a classic DIY activity that combines simple materials with a magical watercolor effect. It’s perfect for a rainy afternoon, a classroom project, or a spring-themed home decoration.
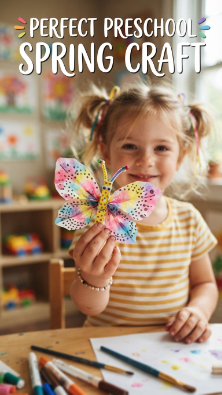
In this guide, we’ll show you exactly how to make these vibrant butterflies using items you probably already have in your kitchen and craft drawer.
Materials Needed:
- Circular paper coffee filters
- Washable markers (vibrant colors work best!)
- A spray bottle with water
- Pipe cleaners (chenille stems)
- A flat surface (like a white wooden table or tray)
Step 1: Prepare Your Workspace
Start by flattening out your circular coffee filters on a clean, waterproof surface. We recommend using a white wooden background for a bright, clean look. Make sure your washable markers are ready to go.
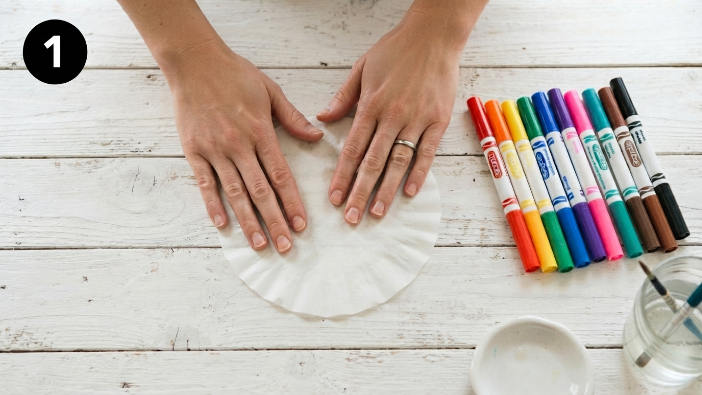
(See image: Hands smoothing coffee filter)
Step 2: Add Vibrant Colors
Use your washable markers to draw abstract patterns, circles, and dots on the coffee filters. Don’t worry about being too precise—the messier the better! Leave a little bit of white space to allow the colors room to travel and blend.
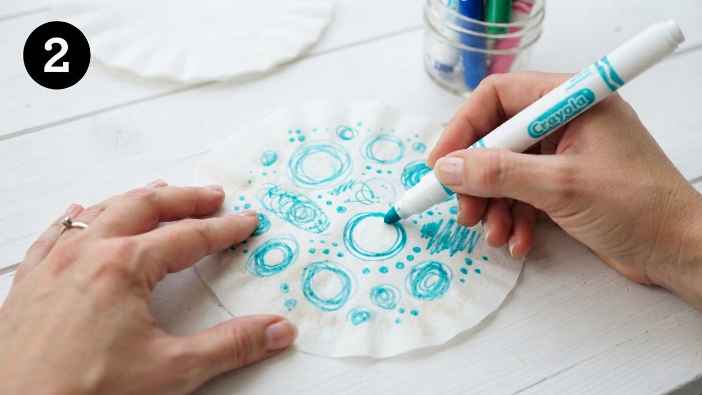
(See image: Hands drawing on coffee filter)
Step 3: Create the Watercolor Effect
This is the magic part! Lightly spritz the colored filters with a fine mist of water. Watch as the ink begins to bleed, blend, and transform into a beautiful tie-dye pattern. Be careful not to soak the paper too much; a light mist is all you need.
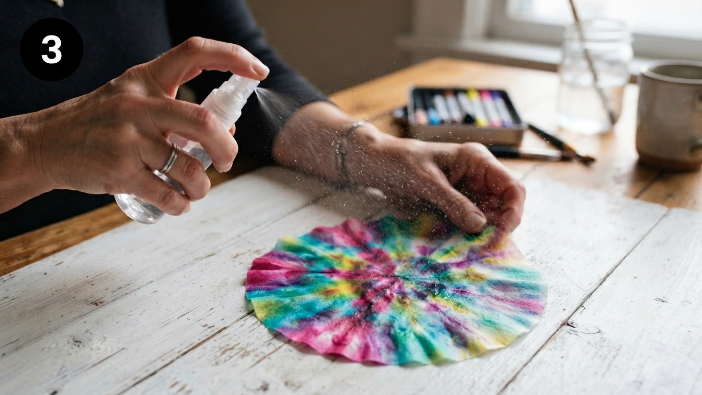
(See image: Artisan making coffee filter art)
Step 4: Let Them Dry & Fold
Once your filters are completely dry, it’s time to shape the wings. Take two filters and fold them back and forth in an accordion style (about 1-inch pleats). This gives the wings a wonderful 3D texture.
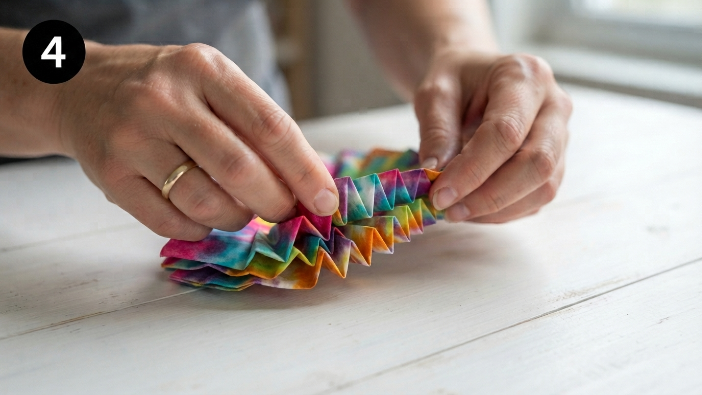
(See image: Hands folding colored coffee filters)
Step 5: Assemble the Butterfly Body
Stack your two folded filters on top of each other. Wrap a fuzzy pipe cleaner around the center and twist it tightly to secure the wings. Leave the ends sticking up to form the antennae—you can even curl them for a cute look!
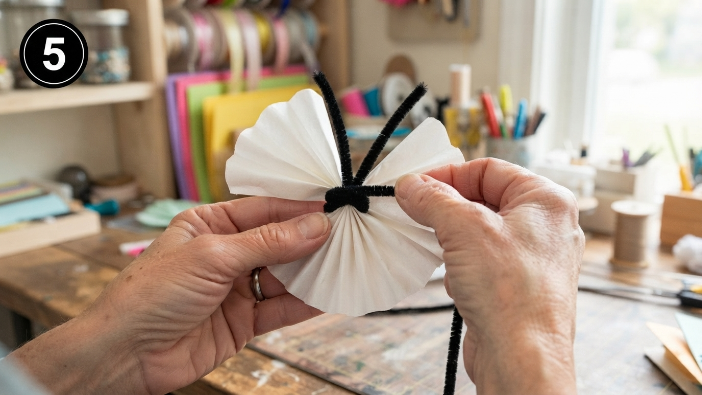
(See image: Wrapping pipe cleaner around coffee filters)
Step 6: Reveal Your Masterpiece
Gently spread the pleats of the coffee filters outward to reveal the full, colorful wings. Your butterfly is now ready to “fly”! These look amazing pinned to a bulletin board or hung near a sunny window.
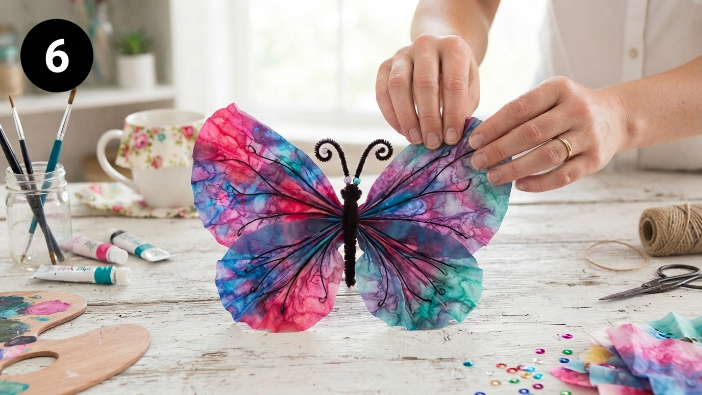
(See image: Hands adjusting coffee filter butterfly)
Why This Craft is Great for Kids:
- Develops Fine Motor Skills: Folding and twisting help with hand-eye coordination.
- Teaches Science: It’s a simple lesson in chromatography (how colors move through paper).
- Encourages Creativity: Every butterfly is unique!
Looking for more butterfly crafts and activities? Check out our Butterfly Activities for Preschool article. Then download these fun butterfly coloring pages for even more creative fun!
Happy Crafting!